

My Favorite Stained Glass Tools
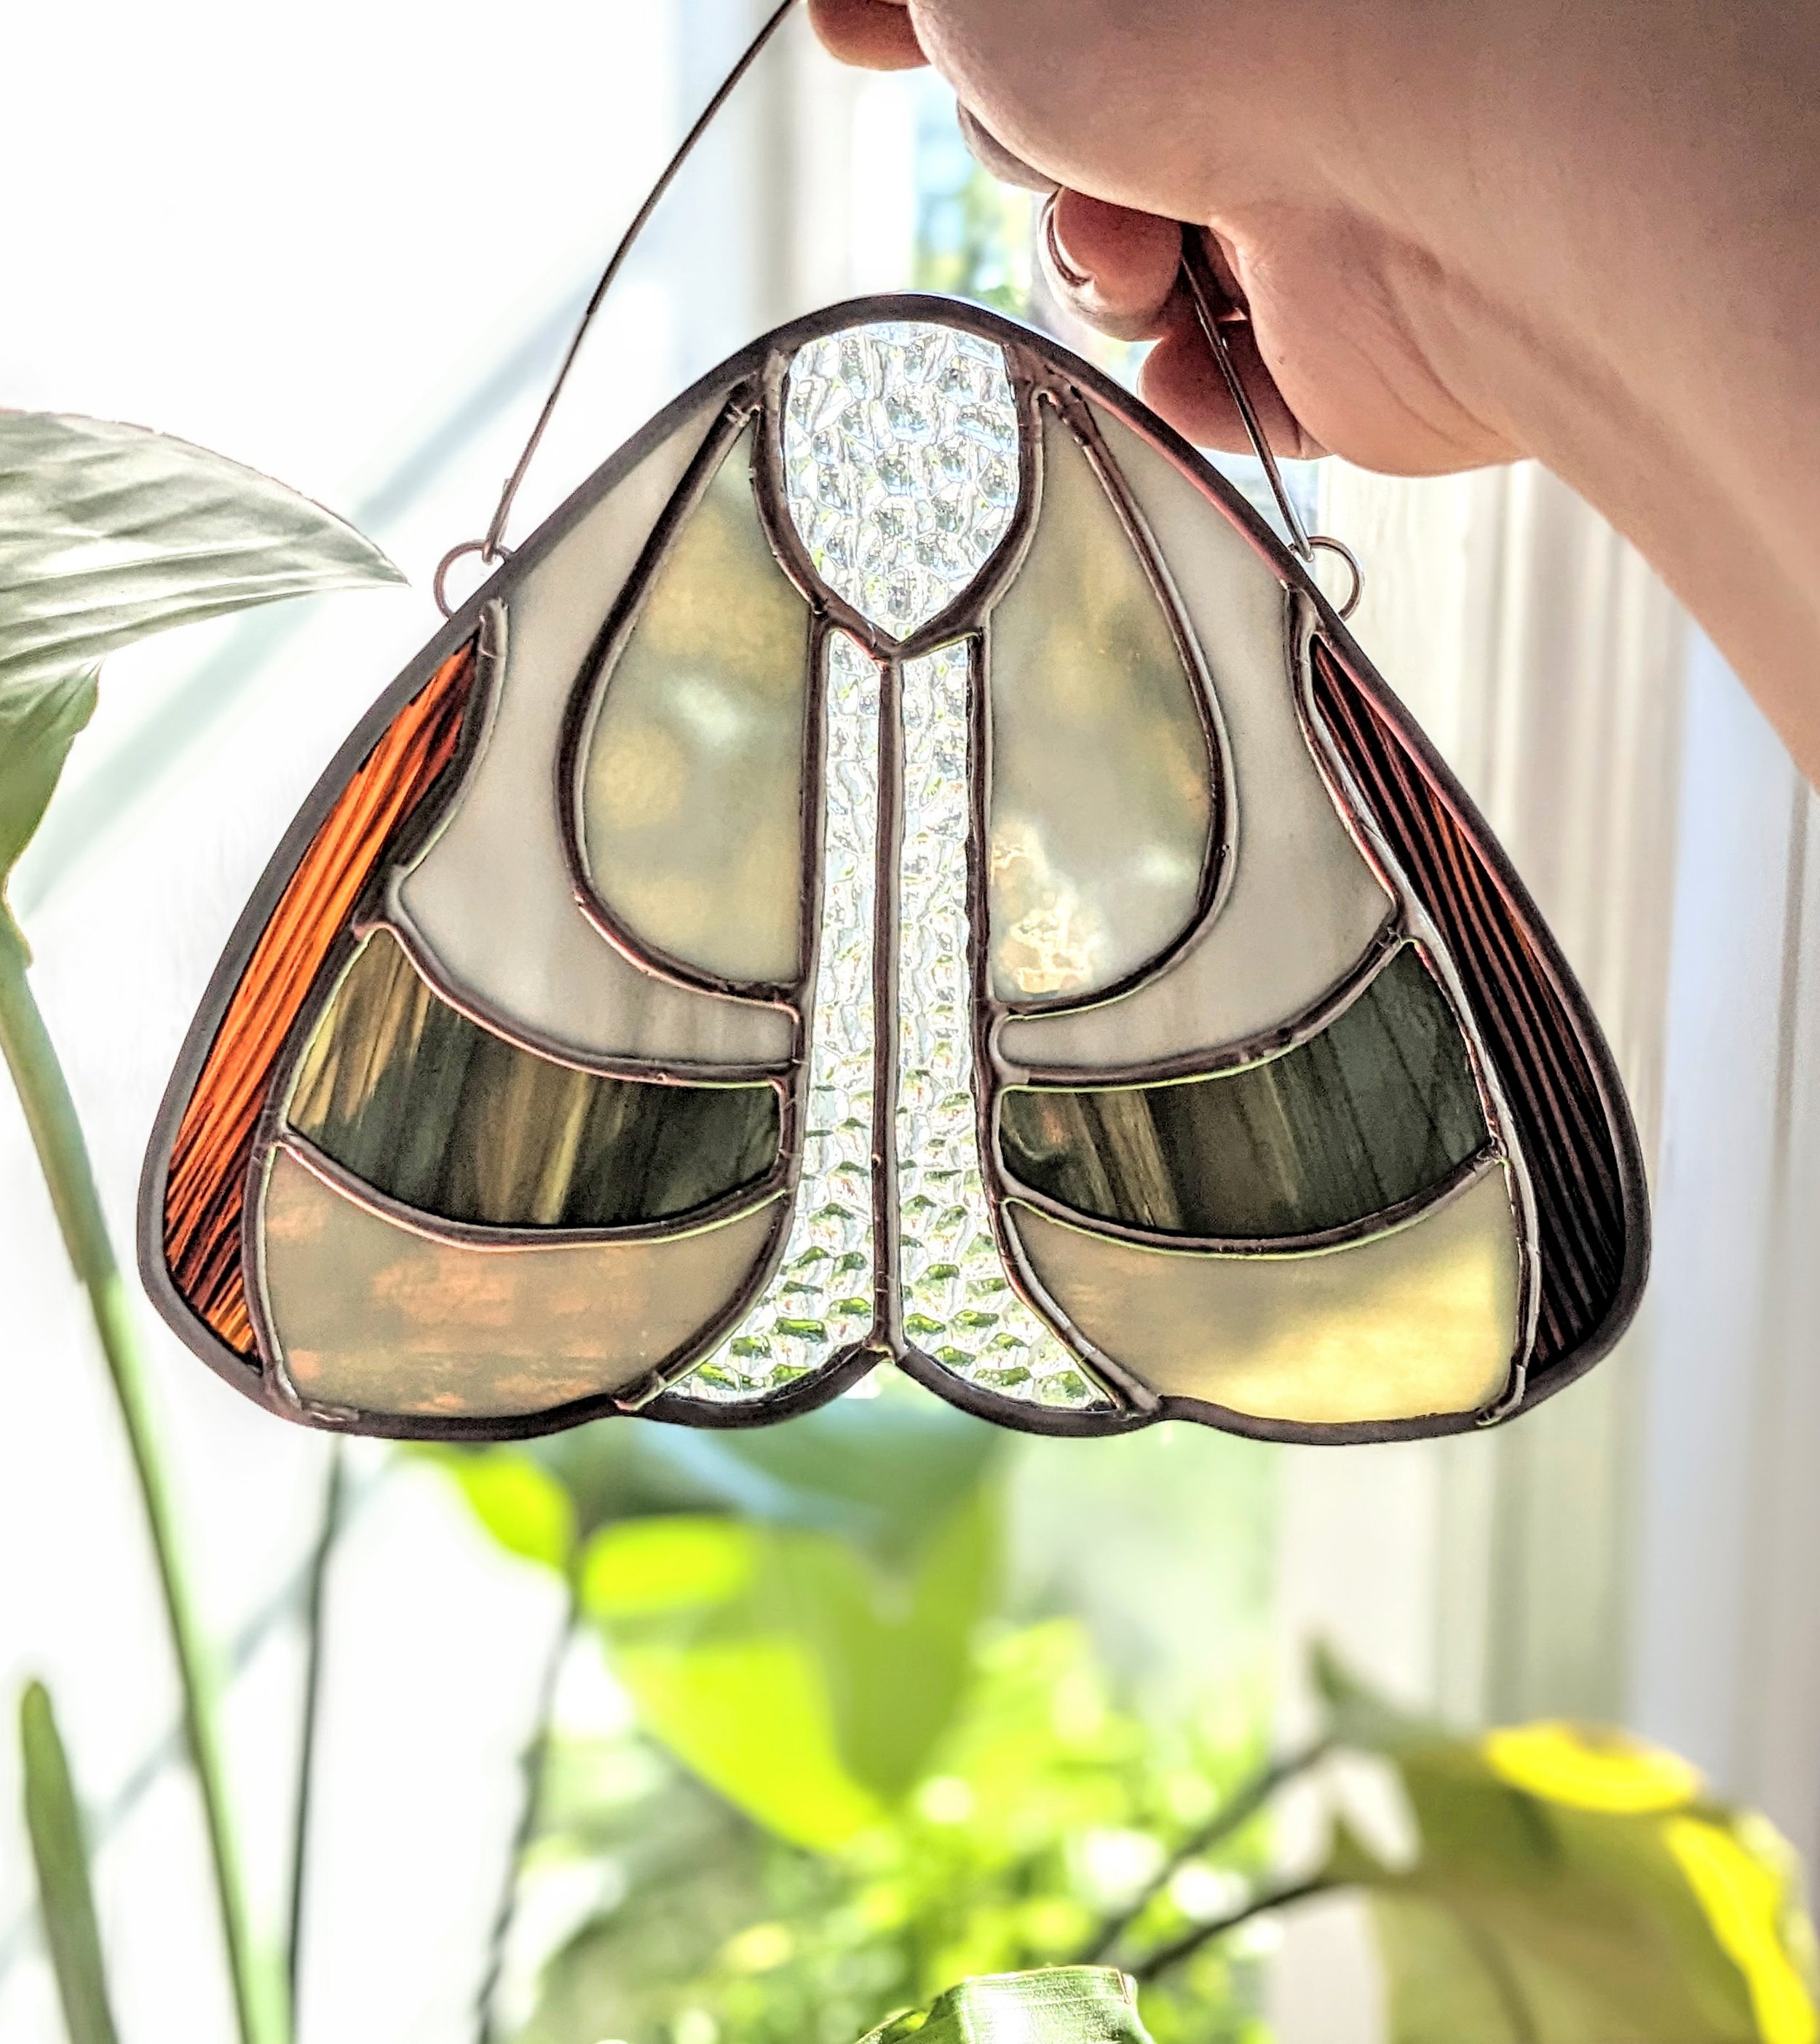
A lovely neutral colored stained glass moth suncatcher made with a variety of streaky and textured glass.
Every artist has their favorite stuff.
No matter what kind of gadgets are invented, most artists I know still reach for the tried and true tools or products that they like best.
I’m no exception! Every birthday or holiday a well-meaning loved one finds something fun for me to try (I’m looking at YOU, foilers, all sitting there dusty on my shelves) and while sometimes I end up loving it, I almost always end up using the same old grimy, flux-covered tools that I always do.
The number one question I get at festivals besides,
“Wow, you made all this?”, is “HOW do you make all of this?”
So, if you’ve wondered the same and/or you’re a new glass artist looking for tips, this is for YOU.


My I-can’t-quit-you tools and products.
These are the tools that I use EVERY DAY. They’re my tried and true tools and products that never fail and that I simply couldn’t do my work without (well, I could BUT, I wouldn’t be happy!).
Small grozing pliers. About $10


I use grozing pliers completely different from their intended purpose and I feel like most glass artists probably do, too.
Their main purpose is to help you nibble off wee bits of glass that didn’t break completely from your score line and to help you manually shape a piece of glass that you don’t really want to take over to your grinder. I use them like that sometimes.
But mostly? I use them to help me break glass after I score it. The little nose of the tip is perfect to saddle up to a fine score line and when pulled just right, the glass breaks even and quick. This technique is especially good for those little pieces of glass that don’t come apart easily or when you don’t have enough thumb space to break them by hand.
Hakko soldering iron with built-in rheostat.
About $60-$100

This is my soldering iron.
I learned to solder glass art with my dad’s old Weller soldering iron. That thing looks prehistoric and has no built in rheostat so it was like working with an unregulated lava pen and good lord, that was like trial by fire. I mean, he’s been a glass artist for decades and never had anything different so I didn’t think much of it.
Little did I know that soldering could actually be a controlled and elegant relationship between me and the molten solder without sputtering flux and splattering beads across my arms and workspace!
Enter the Hakko soldering iron with built in rheostat. Yes, it’s pricey but I wouldn’t use anything else because they self-adjust their temperature and they last forever.
Something to keep in mind, the Hakko soldering iron temperatures are actually in Celsius.
So this little iron gets WAY hotter than you think.
By having the rheostat already in the soldering iron itself, I can make quick adjustments and have a reliable, steady stream of heat that doesn’t cool and then quickly get raging hot over and over.
So, rheostats don’t actually control the heat itself, they control the amount of electricity that the soldering iron gets from your outlet. That’s called a closed loop electronic temperature control system. When you turn up the rheostat, you’re allowing MORE electricity to the iron, making it hotter and when you turn it down,
you’re allowing LESS electricity to the iron, which cools it.
Gel flux - range in size. About $10-25

My gross, old bottle of gel flux. I love it so much.
There are LOTS of types of flux out there - liquid, paste and gel are the common types - and there are a lot of companies that make flux. I find that liquid splatters and paste, while it lasts FOREVER, tends to be harder to wash off.
Gel is the perfect middle ground. You don’t have to use a ton, it stays where you spread it on, unlike liquid that falls through the cracks and gets your pattern or workbench all wet. And, it washes off well.
Toyo TC-21 glass cutter. About $35

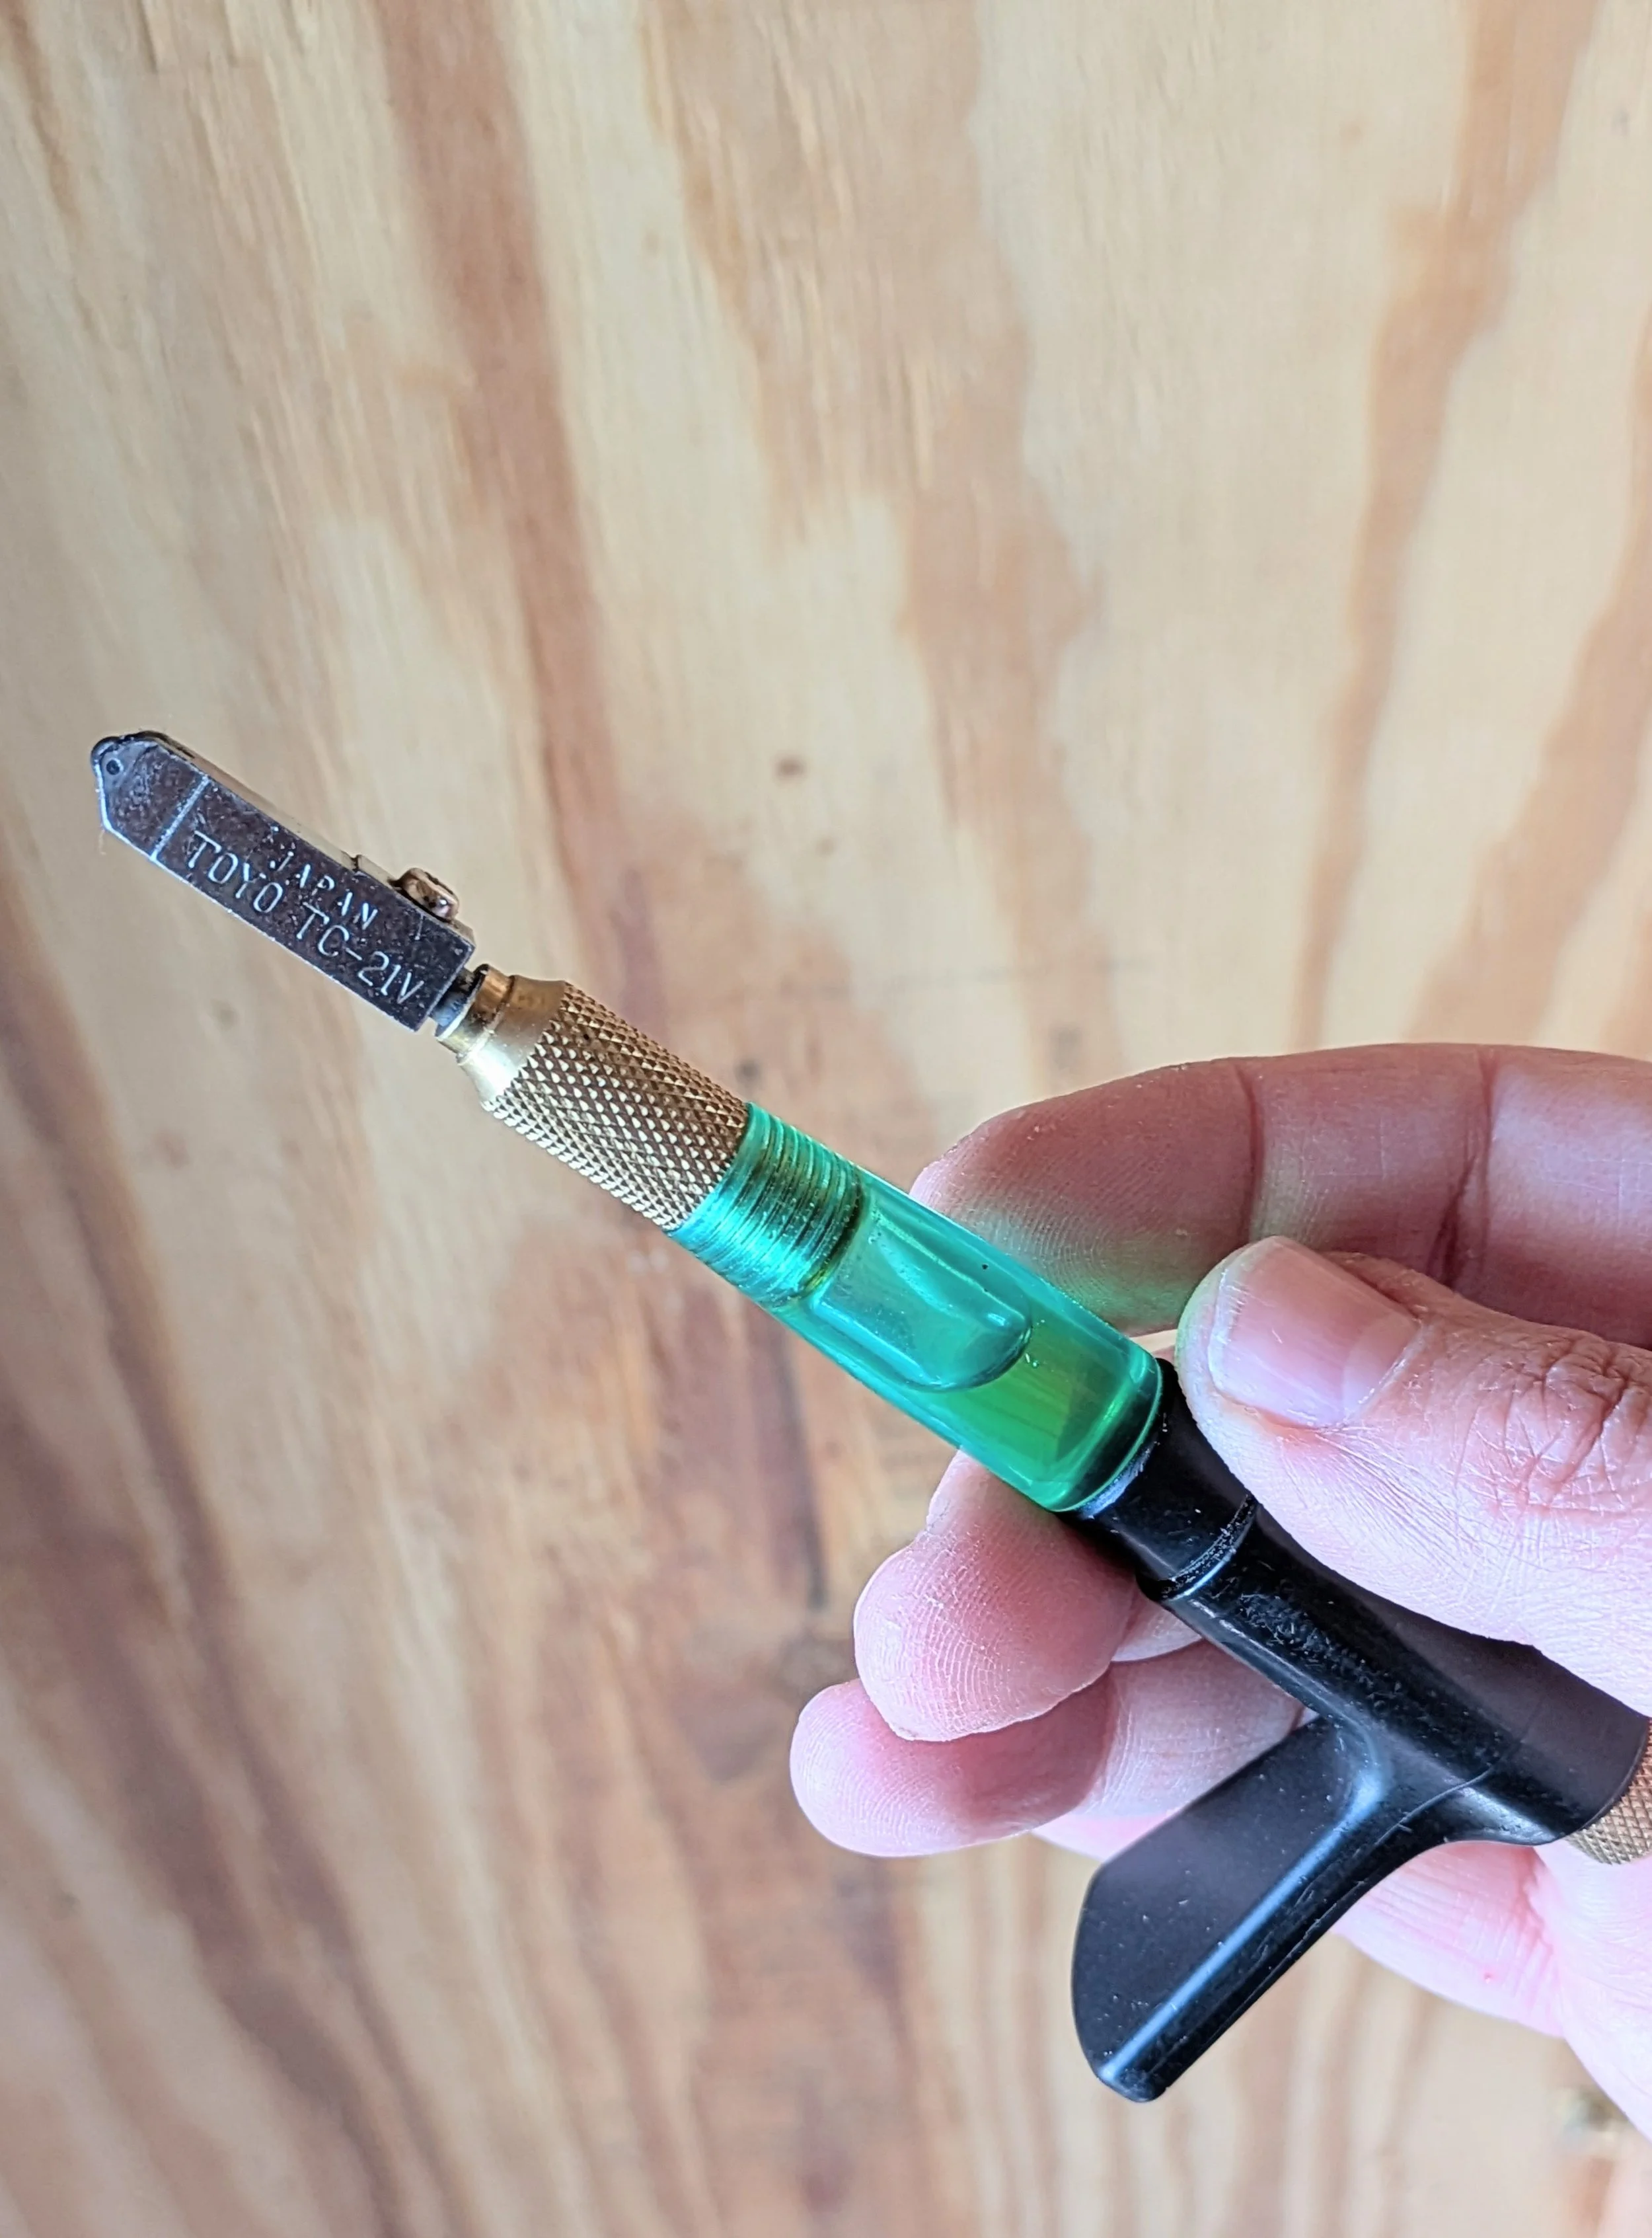
I’ve used a lot of different types of glass scorers and by far, this one is the best!
First, it’s self-oiling, which is great. I still store it in a glass jar that has cotton balls soaked with 3-in-1 oil, but that’s honestly not necessary. The oil chamber lasts a long time - I think I’ve only filled it twice and I use it every day.
The grip is nicer than a pencil-style or pistol grip scoring tool for me. This is because I use the middle of my palm to run the score line instead of just a couple fingers to hold the pencil-style or my entire hand to grip a pistol-style scorer.
For me, this provides a lot of relief from hand fatigue, especially when I am scoring and breaking for 8 hours a day. For folks who have arthritis, this style is a good option.
Clarity Polish and Howard Feed n Wax Around $20 each


Polishing products are one of those things
that everyone does differently in order to get that SHINE.
Some people use car wax, some use ammonia,
some use vinegar and the list goes on and on.
I’ve tried a lot of products and find that a couple things make polishing easier:
Old toothbrushes - to use in the creases and along the inside of the zinc and lead channels where all polish can get stuck.
Wood cuticle pushers - to use in the small details of textured glass where polish likes to sit.
Microfiber cloths - NOTHING beats them. I have an entire box full.
As for the polish itself, I have found that Clarity works best on the glass itself and Howard Feed n Wax floor polish, made with beeswax, Brazilian carnauba wax, mineral oil, and orange oil works best for black patina on lead solder and lead frames.
Hobby Came.
Around $6/foot, can be bought in bulk.

Soft, flexible and so easy to use.
A lot of people think that lead came is only for leading stained glass windows that require you to get out the lead stretcher, cement and the lead dykes (yes, the tool is actually called that and I’m queer so I can say it with lots of permission, not just cuz I’m a glass artist!) and so on.
While this is true, there are so many OTHER uses for lead came!
Hobby came is lead came that comes in either 6 foot strips or you can buy it in bulk by the pound (which is how I buy it) and it comes on a big roll.
It’s super thin, bends like butter and you don’t have to stretch it like what you do with other came. You can patina it black. I haven’t tried copper patina with it yet.
Hobby came gives a nice, professional finish and it’s waaaay faster than copper foil with a solder bead.
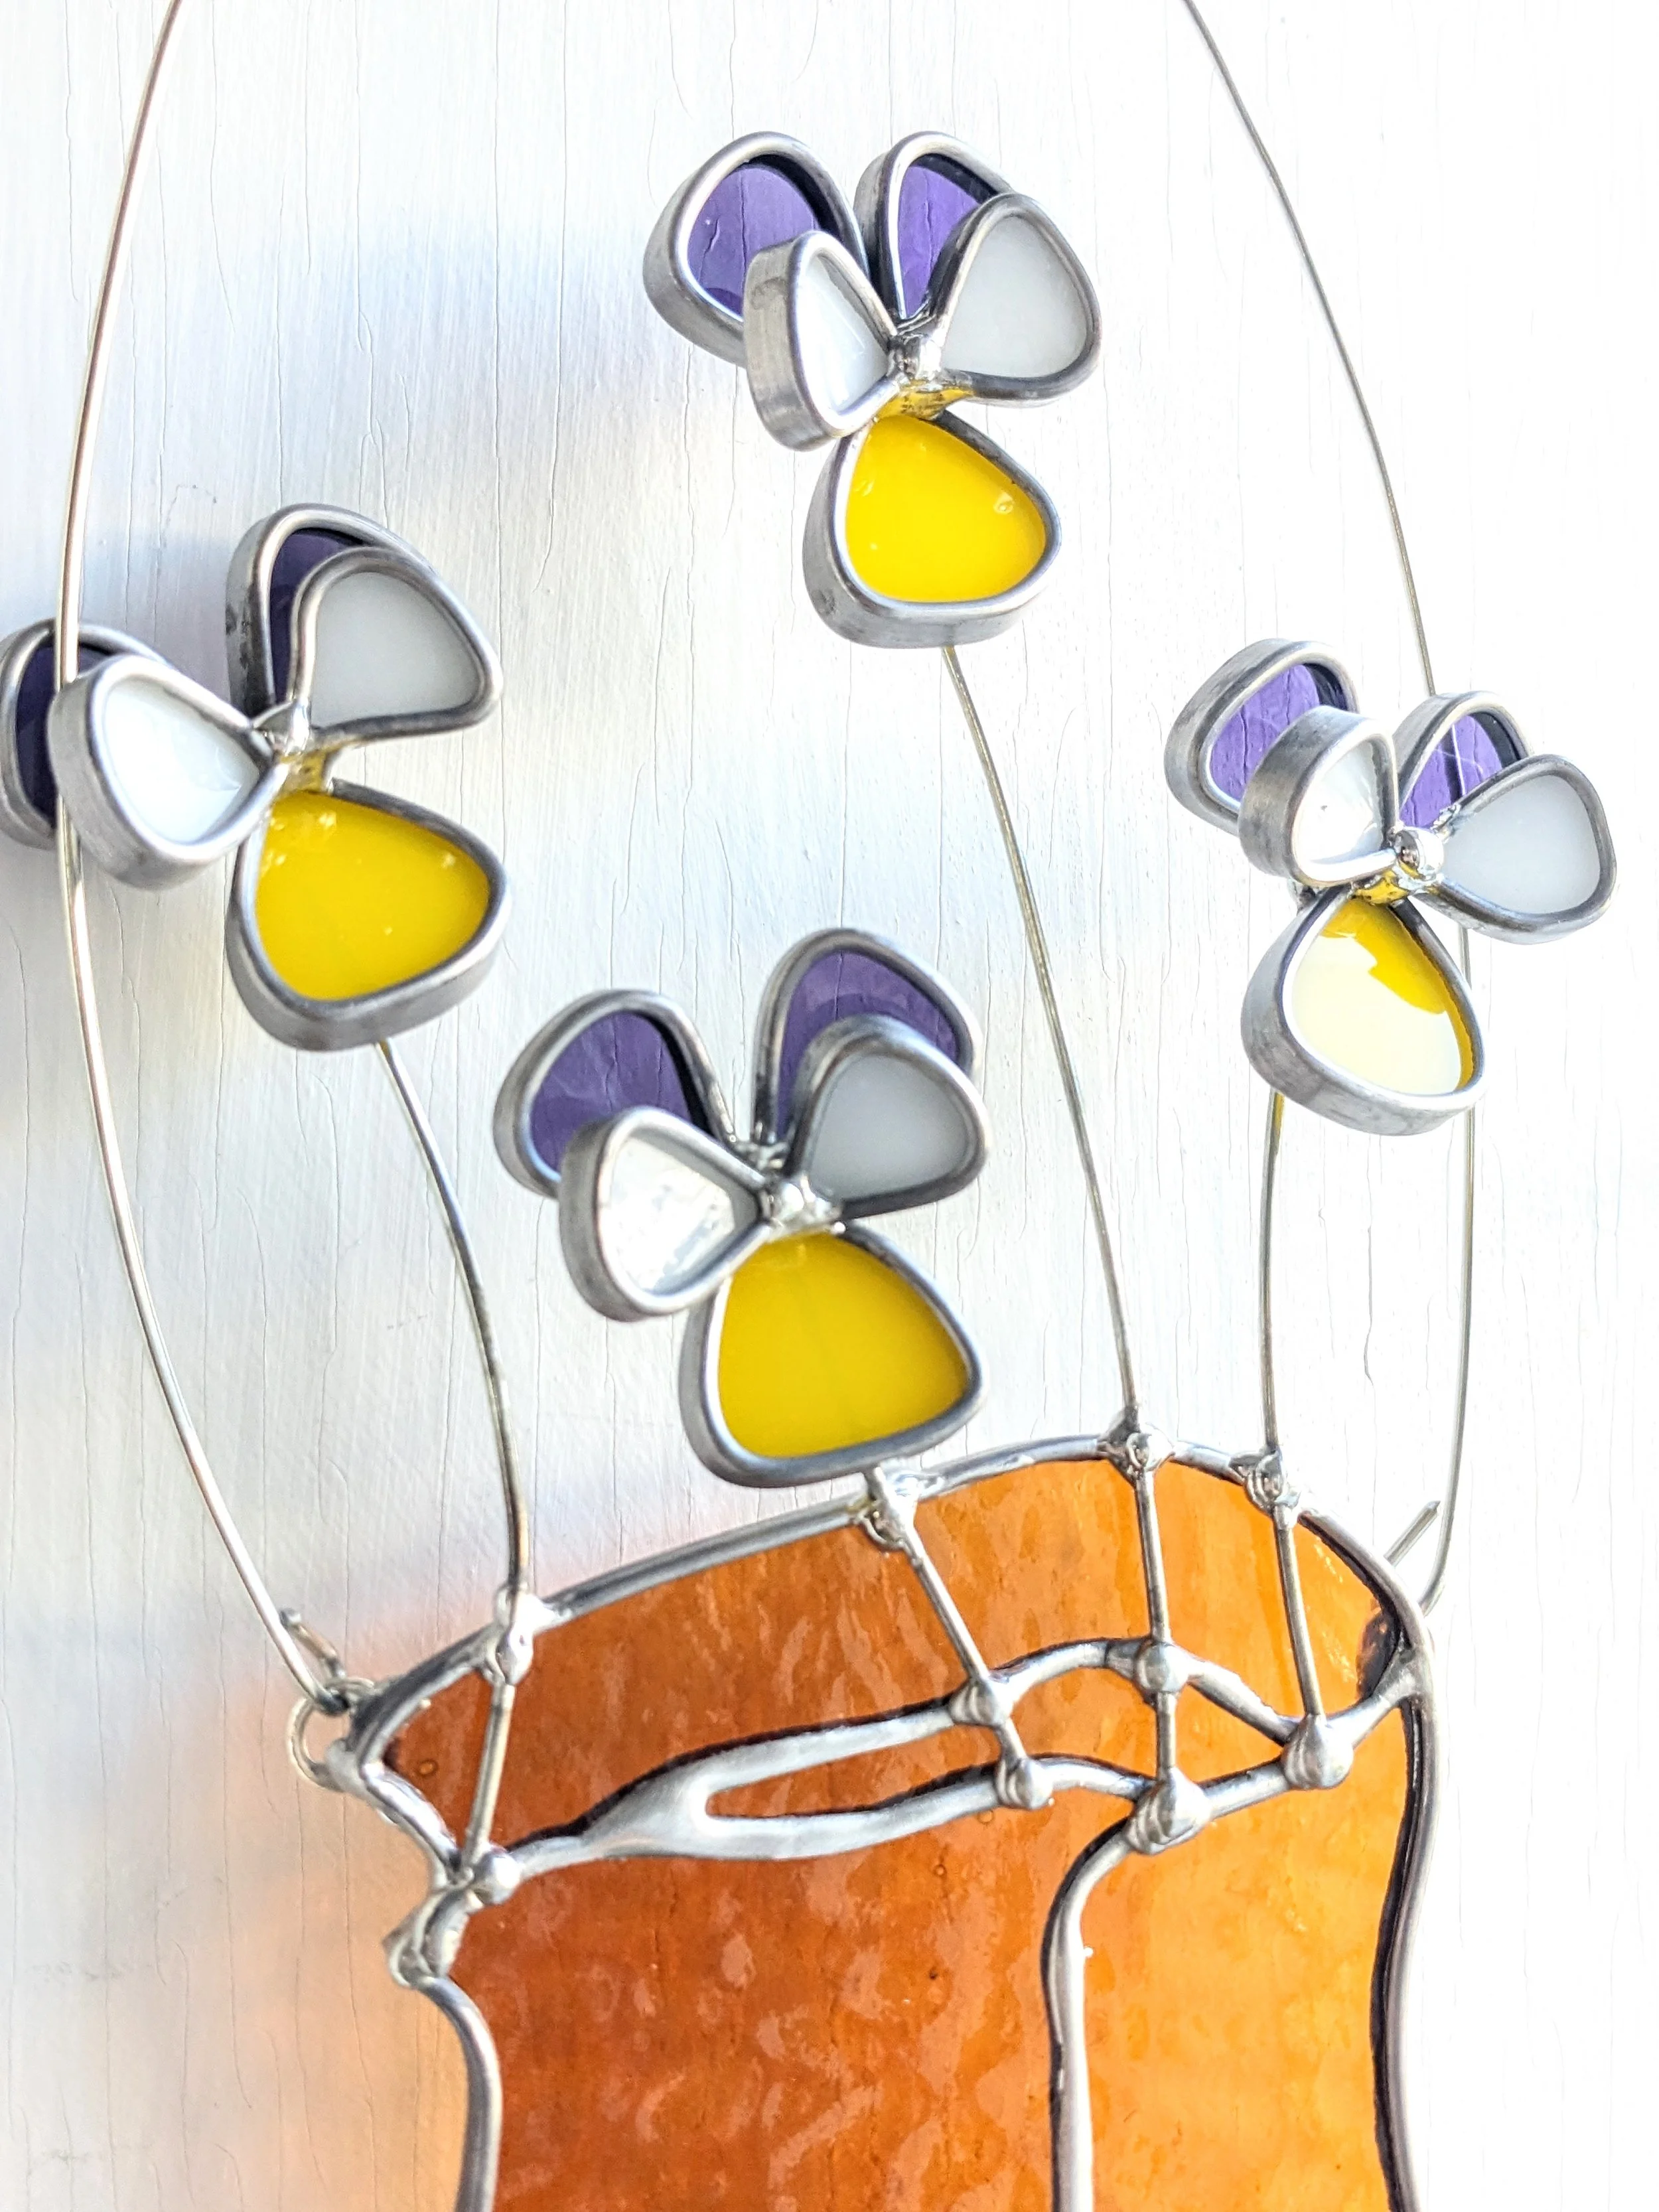
Hobby came is perfect for
3D flowers.
After I drew out the pattern for these Johnny Jump-Ups, I scored, broke and ground each piece into shape. Then, I wrapped each petal with hobby came and soldered the grouping together, one petal at a time.
After a quick once over with some steel wool, the end result is a lovely, polished look.
Bonus List!
Along with all of the above, here are a few items that I think you need
before you start on an adventure in stained glass art.
Grinder
Microfiber cloths
Black and silver sharpies
Steel wool
Breaking pliers
Cork-backed ruler
Sharp pencils
Poster board or old file folders for making patterns
Want more tips?
Download my FREE care guide. I go into detail on how you can clean, hang and
generally care for your stained glass and fused glass art.